 A few years ago I had major leg surgery which kept me inside and gave me loads of time to work on craft projects. So today I'm going to show you how to make a nail string art sign. Things you need for this project: 1. Something to put your nails into (wood, a wall, etc..) 2. Paint or stain 3. Nails 4. Crochet String 5. Printer or stencil So first I decided on the size of the board that I wanted and went to home depot to buy a board and have them cut it to size. After it was cut I painted the board a teal color. 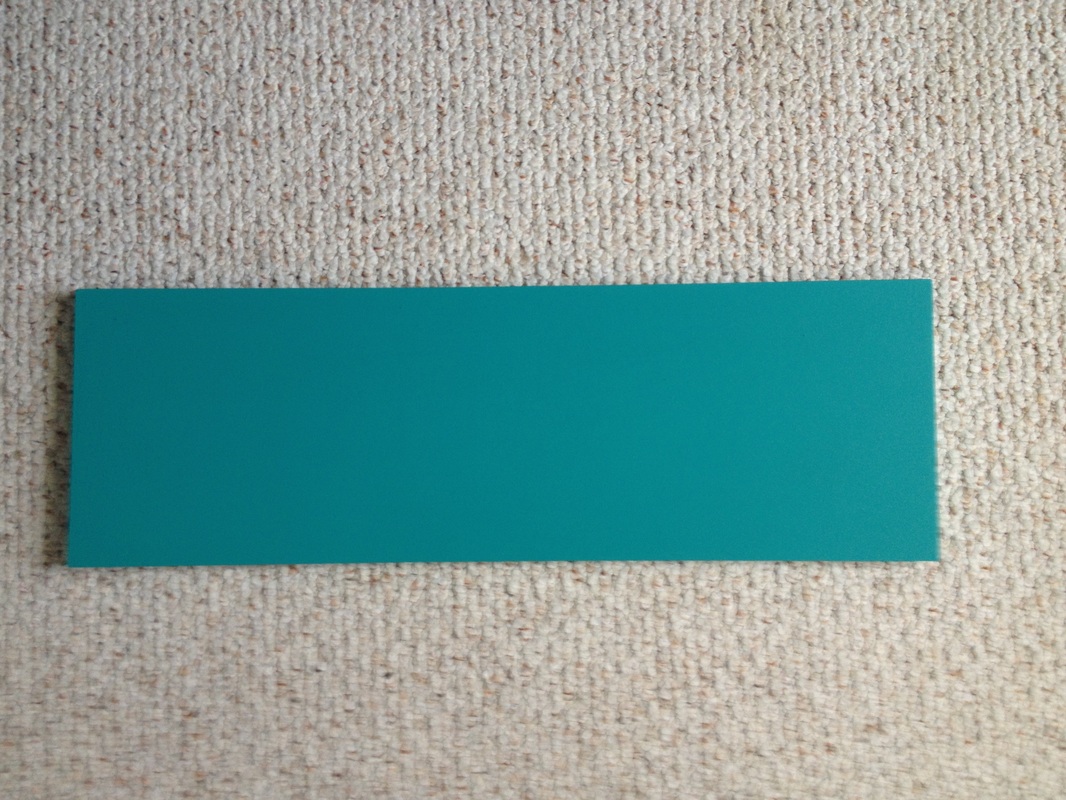 After I painted I used word to design what I wanted to outline. After a few trail sheets I finally ended up with this. 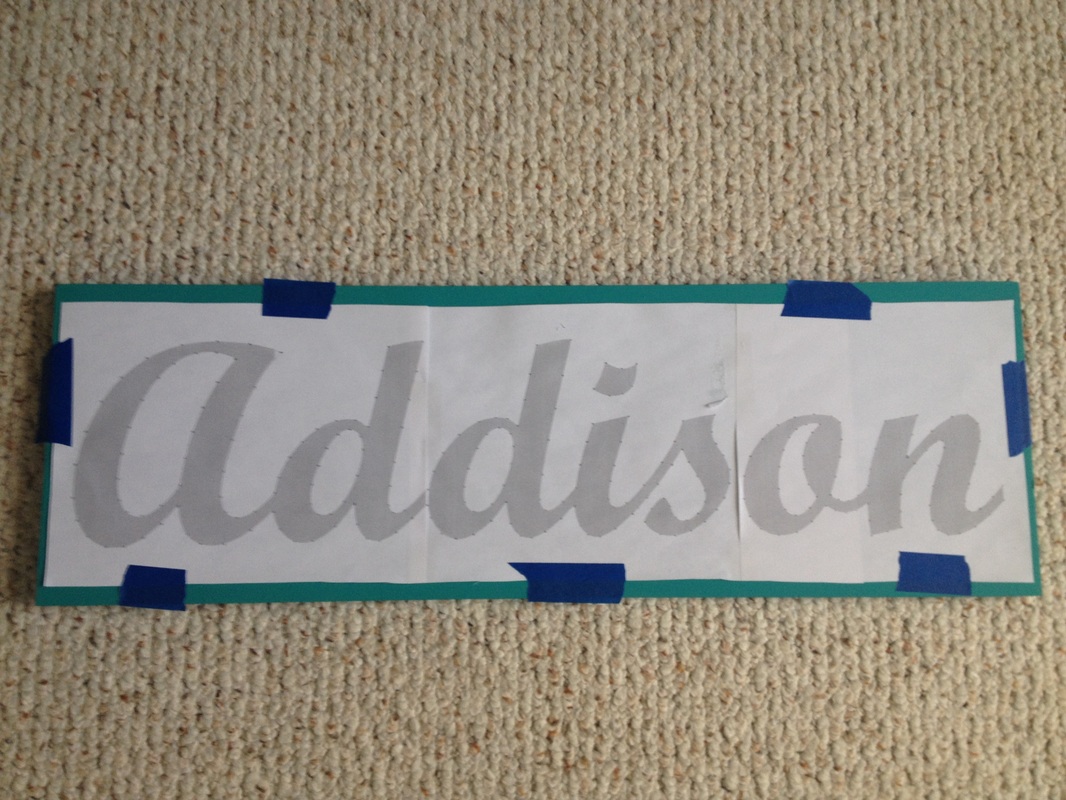 After I got it positioned right I took painters tape to hold it into place. I then took a ruler and measured every 1/2 inch you don't have to do this but I like having the nails evenly spaced. In some placed the had to be closer or farther apart to make the shape of the letter clear. 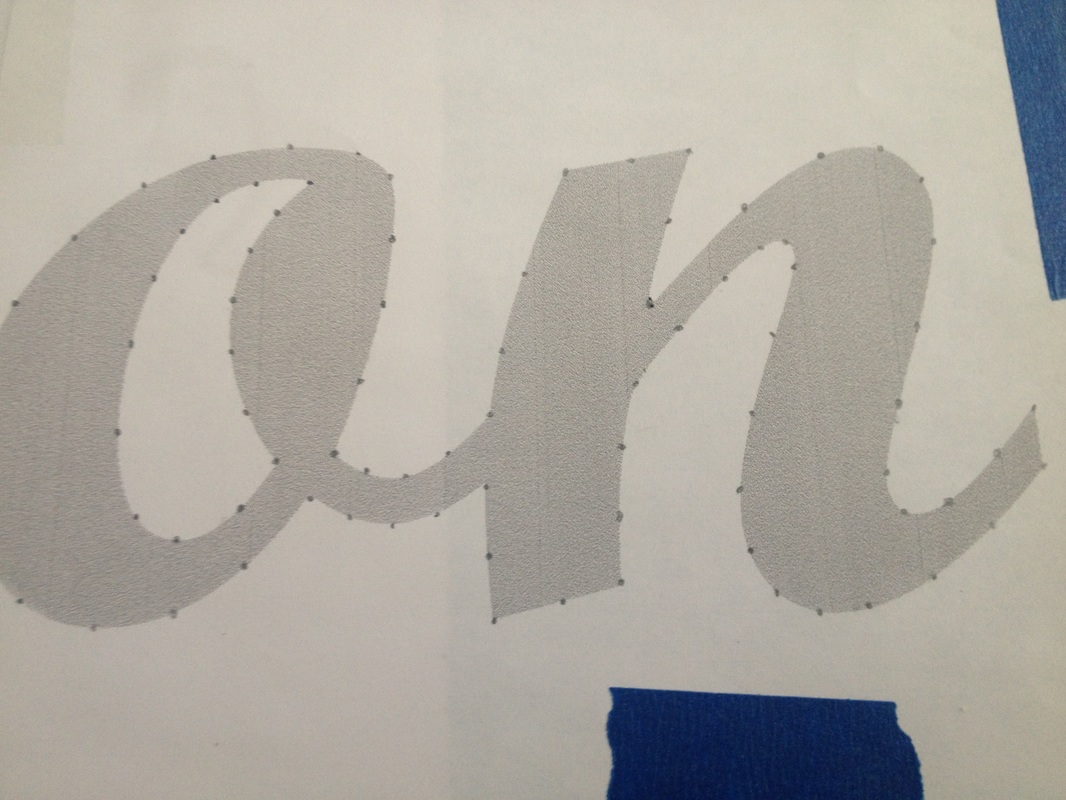 Now you need to get nails. The kind you get depends on what look you are going for. If you're just staining your wood maybe get nails that aren't painted for a more rustic look. If you are making a small string art then you want smaller nails. I found my nails at home depot for less than $2 and I only used one box. 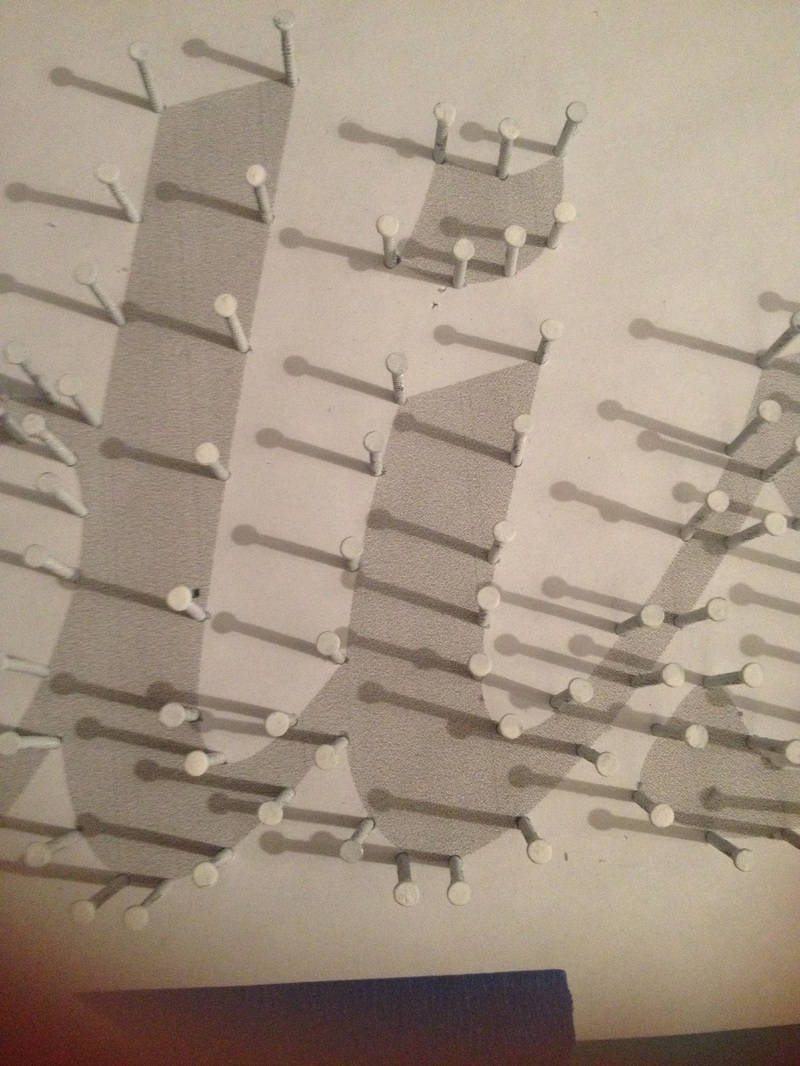 This step is what takes the longest. After trial and error I think it's easiest to hold the nail with a pair of plyers while hitting with a hammer. This is definitely not a quiet project. When you pound in the nails try to make them the same height so when you weave the string it stays on the nails easier. 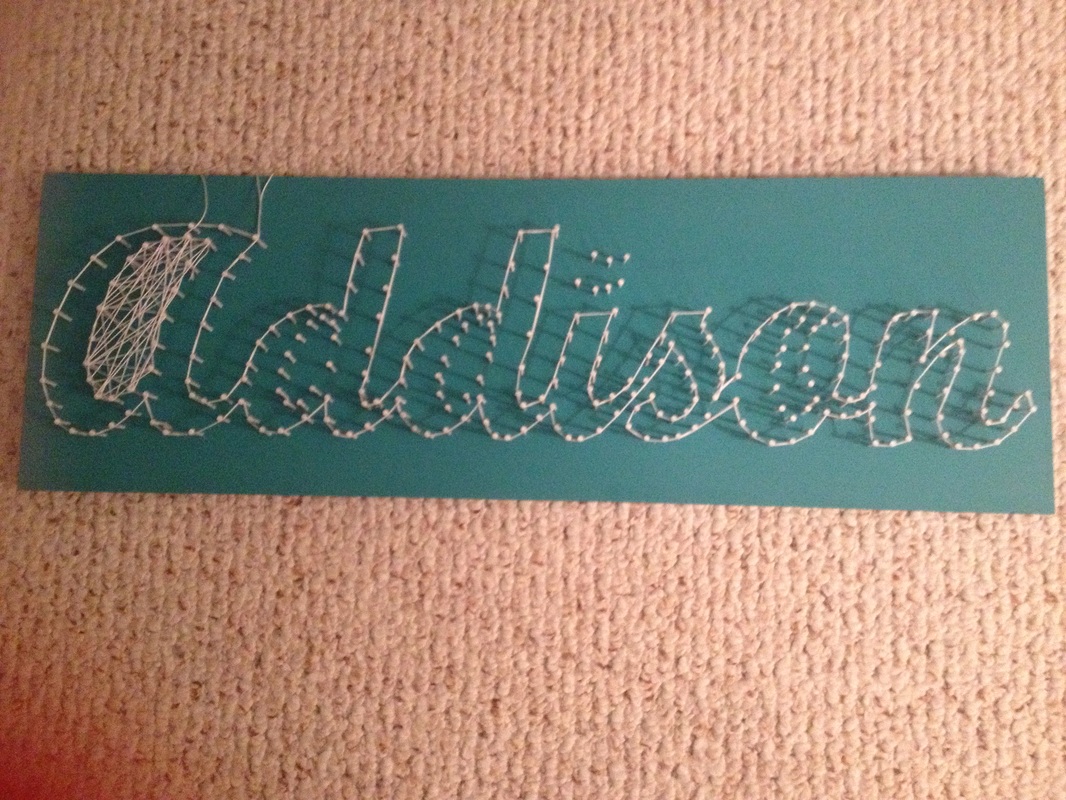 Now pull the paper off the board. You might need tweezers to get a few little pieces. Trust me if you are doing a complicated shape like letters try to outline it before your start because after you take away the paper it's hard to tell which space is suppose to be left open. 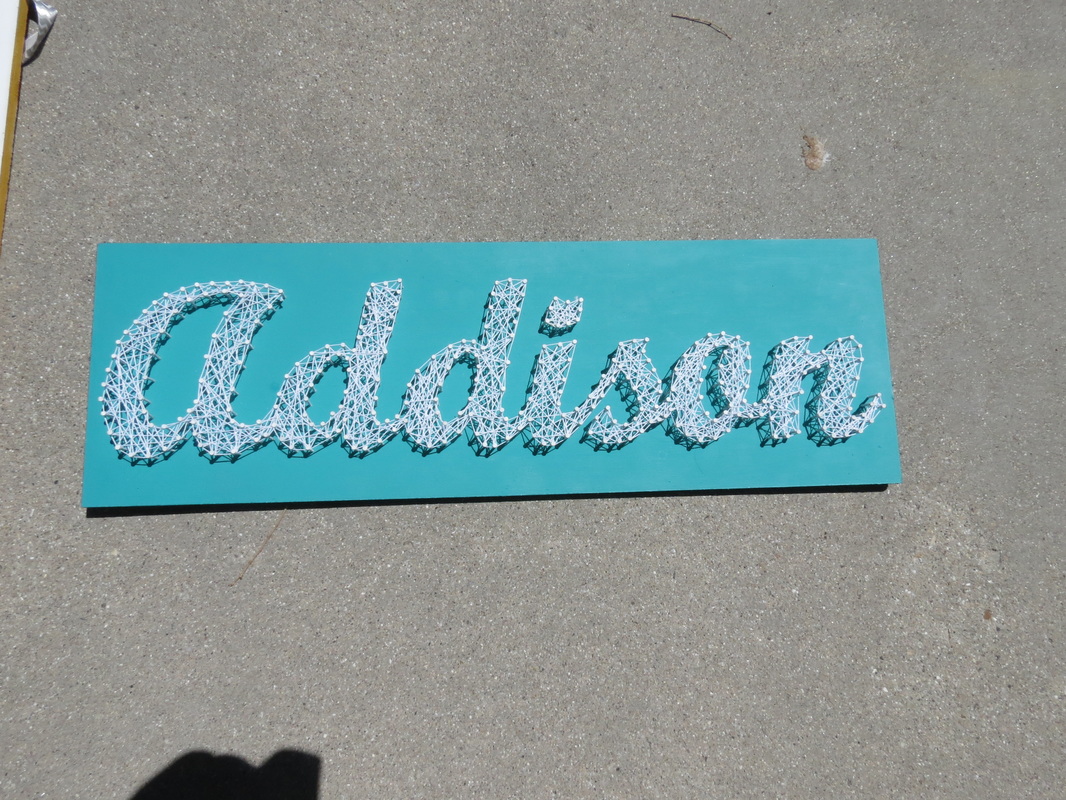
0 Comments
Leave a Reply. |

Hey I'm Addison! I'm 19 and going to college. Passionate about DIY and Home Related projects for a low cost with expensive style! more→
Categories
All
Archives
April 2017
|
 RSS Feed
